JML is an OEM lens maker that designs/manufactures lenses for other companies, but occasionally, you also see their own brand of lenses. I have the JML 25mm f0.95 and the 50mm f0.95 TV lenses that I purchased from locally. Both are c-mount lenses and the 25mm mounts and focuses to infinity without problem, and is one of my favourite c-mount lenses. The 50mm f0.95, unfortunately, has a very large mount that it can not be mounted and focused to infinity on my G1. The good news is that the c-mount itself on the lens is removable, so I decided to sacrifice one of my c-mount adapters and make it semi-permanent.
The first thing to do is to remove the c-mount from the JML 50mm lens. This is easy as all you need to do is the unscrew the mounting ring which holds the c-mount.
Next thing is a bit more work. The c-mount to m4/3 adapter needs to be filed down. Most c-mount adapters are made with two "sections". One section goes inside the body mount, and the other section basically a handle to hold the mount to be mounted/unmounted. What needs to be done is to file away the "handle" section so that you will have just a flat, mount piece that you will need to secure to the lens.
This part needs to be done as precisely as possible because if the mount piece is not flat, the image field will not be flat and the pictures will come out half in focus and half out of focus. If you could get someone with some sort of machine to do this, it's probably worth it. I just used a Dremel grinder to remove the "handle" section until it's all gone. What's left is the flat piece of the mount itself.
If your adapter was made in two pieces that has screw holes, that's perfect, otherwise you should drill some holes, either to secure the adapter piece by screw, or by glue. If using glue, the holes will form grips for the adapter piece. Probably not much, but at least a bit.
The tricky part is how to achieve flatness and securely mount it. I am not a tools person and my tools are limited. I also do not want to destroy the lens mount either, so I opted to use glue, Gorilla glue to be precise. I think this is the wrong kind of glue to use because Gorilla glue expands as it hardens, but this was the only one I had at hand. Before the glue was set, I put some really heavy objects on top of the mount to keep it flat as the glue sets.
One optional step is the mark the mounting position of the adapter before securing it to the lens, so that when mounted, you see the aperture on top instead of sideways or up side down.
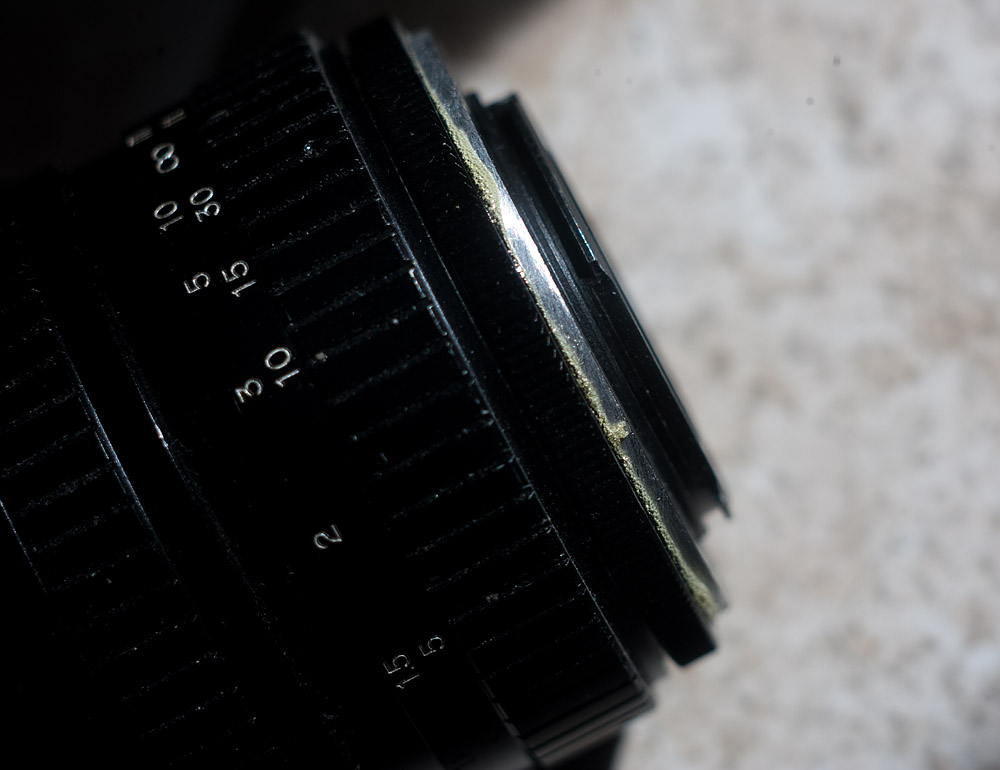
Below are few pictures of the mount after it was done. Click on the pictures to see a larger version.


Hi! Dou yo need to modify it for NEX E-Mount too??
ReplyDeleteDoes it vignette on NEX? I see some of your pics with 50mmm 0.95 & NEX and I see only little vignette, no "tunnel" effect. Am I right? Did you crop the images?
Thank you!
@Juan: the 50mm f0.95 vignettes a bit, as with most fast lenses. This lens covers the APS-C sensor completely.
ReplyDeleteThank you for your answer.
ReplyDeleteDid you modify the JML 50mm to fit E-Mount or just use an adaptor?
Adapter will not work as the rear mount is too large. I modified it it by replacing the original mount with a NEX to Cmount adapter. Similar to what I did with the M43 mount replacement described above.
ReplyDelete