Friday, April 30, 2010

Kern-Paillard Pizar 26mm f1.9 C-Mount Lens

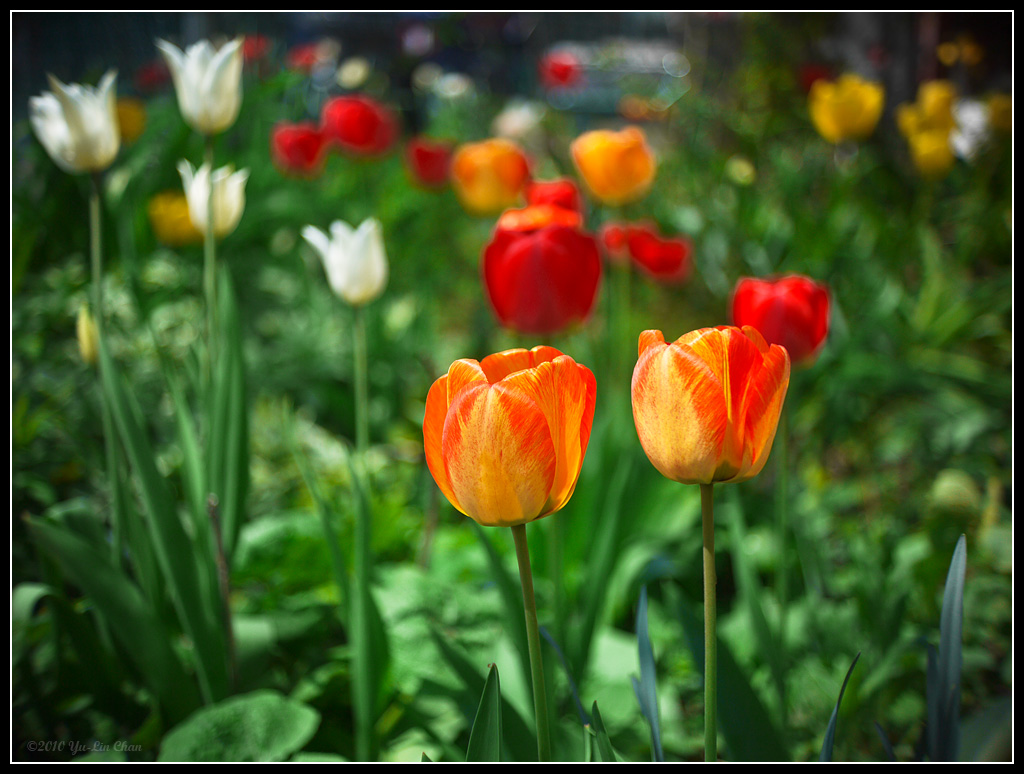
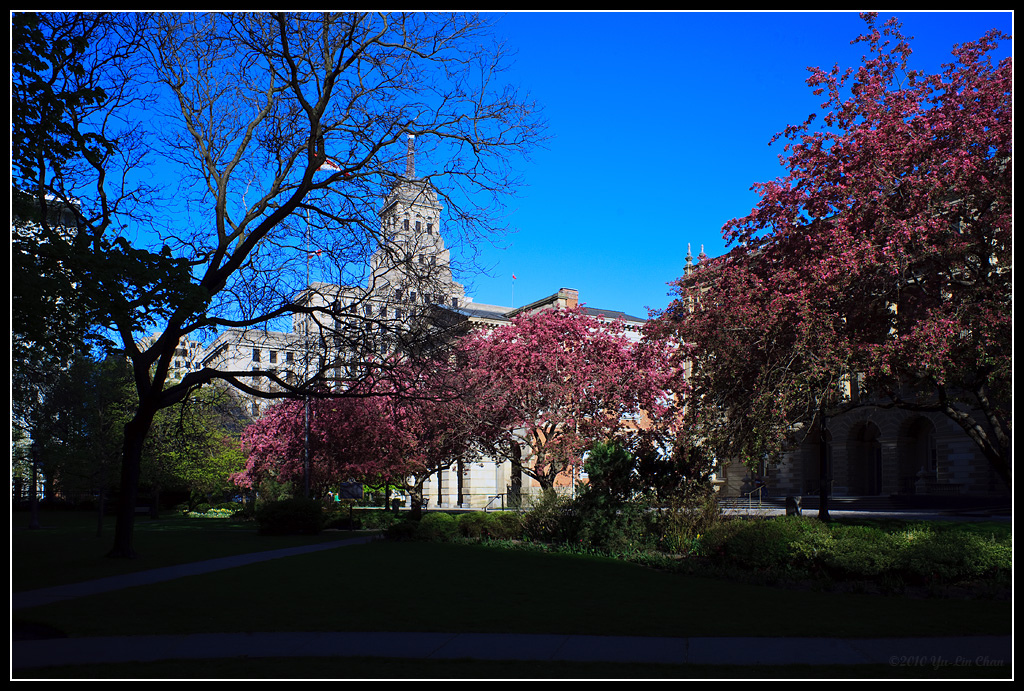
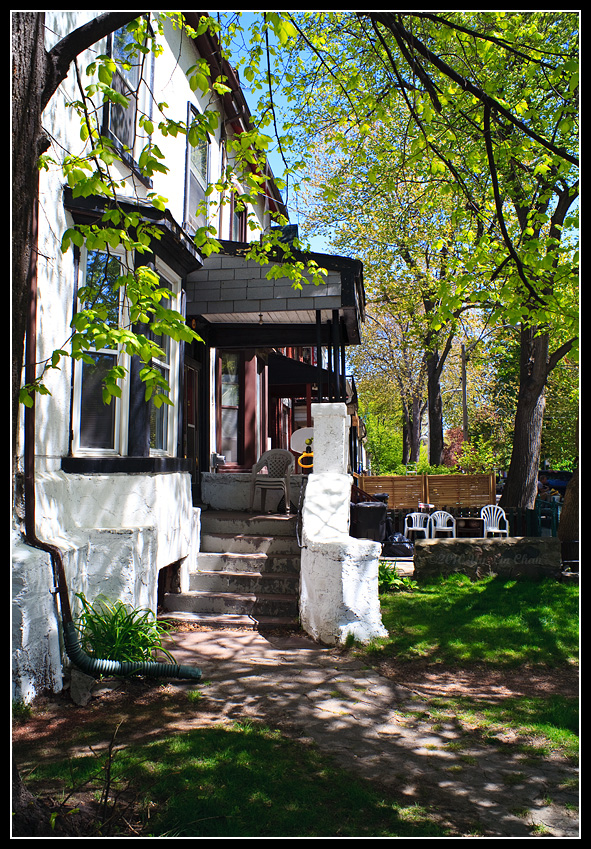
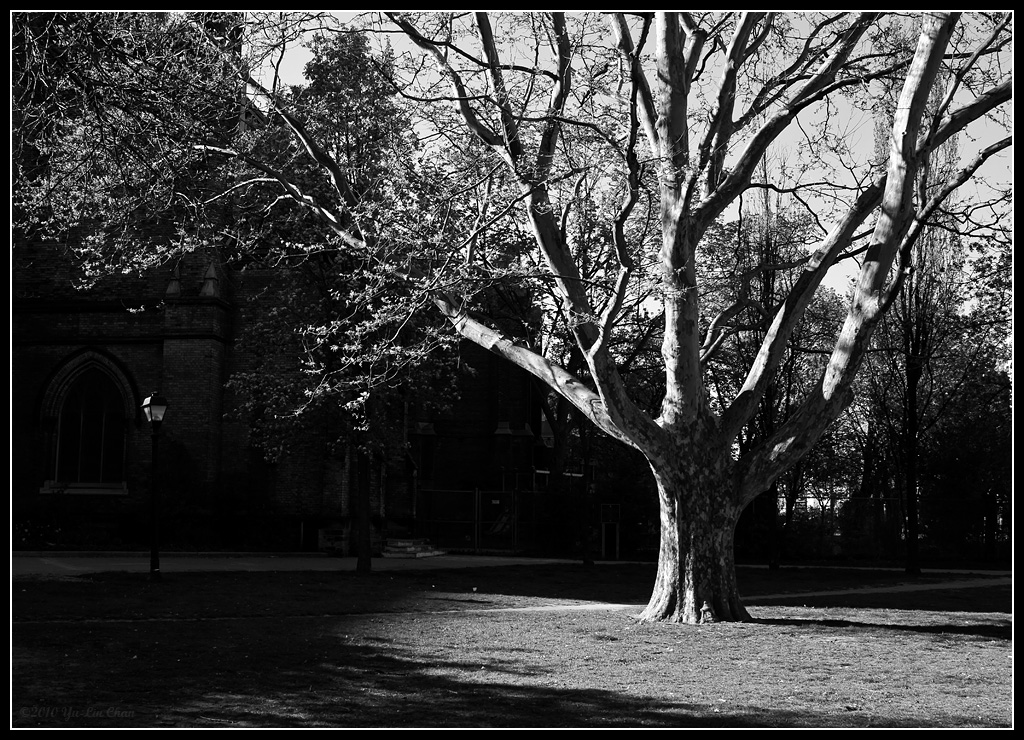
The Pizar 26mm f1.9 is the little brother to the more desirable Switar 25mm f1.4 that I wrote about a while back. The Pizar seems to be living under the brother's shadow. Does it deserve more recognition than it's given?

Make no mistakes about it. The Switar 25mm f1.4 is a better lens. Closer focusing distance, nicer bokeh, almost a stop brighter, and slightly better image quality overall. Both lenses have the same exceptionally good built quality that feels heavier than it looks.

As with most 16mm cine lenses, the edge is not good. If you are looking for sharp corners on a 16mm c-mount lens, you are looking in the wrong place. The sensor on micro 4/3 is much larger than 16mm, so looking for sharp edges on these lenses are mostly wishful thinking. Besides, people who buy these lenses care more about the cinematic look and bokeh than the fuzzy edges.

The Pizar is an OK lens rank within the Kern-Paillard family. Certainly there are better lenses from Kern-Paillard, but it also costs significantly less than the Switar 25mm f1.4.


Blossom at Osgoode Hall -- G1 & Kern-Paillard Pizar 26mm f1.9. Embiggen.


Tulips -- G1 & Kern-Paillard Pizar 26mm f1.9. Embiggen.


White Flowers -- G1 & Kern-Paillard Pizar 26mm f1.9. Embiggen.

Thursday, April 29, 2010

SMC Takumar 28mm f3.5 M42 Lens

When I first started using manual focus lenses on my digital SRL, this was one of the first few lenses that I bought. Over the years, I have owned, then sold at least four of these lenses of various flavours, but it always comes back in my lens collection. It's like a lover who, doesn't matter how many times you break up with, always in your mind, and never forgotten.

There are good reasons why this lens is so lovable and hard to forget. Let me be frank, although it's a very good lens overall, it's not particularly excellent in any one aspect, except, perhaps, flare resistance. It's a lens that won't stir my emotions, but when I don't have it, the lack of its presences is always felt. It is, an almost perfect all around lens, from the affordability standpoint.

No one will NOT mention the craftsmanship when talking about Takumar lenses. These lenses are some of the best made lenses you can buy, without forking out a small fortune. The petite size, silky smooth focusing mechanism, excellent optical performance, and the exceptionally good flare resistance are trade marks of the SMC Takuamr lenses. If you have never owned a manual focus lens, you really should buy the most beat-up looking Takumar lens, and hold it in your hand, and you will realize what a well made lens is supposed to be like.

This SMC 28mm f3.5 lens share the same traits as the SMC versions of the 24mm f3.5 and the 35mm f3.5. All of the three lenses perform similarly. My current copy of the 28mm 3.5 is sharp across the frame at around f8. Very little to fault this lens, except maybe the smallish maximum aperture of f3.5, but alas, you can't have small and larger aperture at the same time.

When mated with its original rectangular metal hood, damn, it looks gorgeous too!


Full blossom at Osgoode Hall - Canon 5D & SMC Takumar 28mm f3.5. Embiggen.


Stairs -- Canon 5D & SMC Takumar 28mm f3.5.

Wednesday, April 28, 2010

Tamron SP 24-48mm f3.5-3.8 Adaptall-2


Big Tree - Canon T2i & Tamron SP 24-48mm f3.5-3.8. Embiggen.

Picked up this lens at the photo show couple weeks ago for peanuts. In overall good condition but is missing the most important accessory -- the hood. This lens is horrible with flare, despite the BBAR MC coating. The hood may help a bit. The lens itself is very well made as most SP series in the Adaptall system is. Very heavy for a smallish lens and feels very dense. This lens could almost be considered a constant aperture lens: f3.5-3.8, a 1/3 stop?

This 24-48mm lens performs OK on the 550D with a high density sensor. Not bitingly sharp, especially at the wide end, but it's not too shabby either. Edges (on 1.6x crop body) is quite respectable. In fact, the "edge" is almost as good as the center at f5.6-f8. Haven't tried it on full frame yet, but I would expect it to be pretty good.

At small aperture in a clear day at 24mm setting, this lens, like many wide angle lenses, makes the sky look very blue without a polarizing filter, but looks like one was used. I quite like that "Velvia" blue, although it looks very fake. This is even more pronounced when developed with the Landscape setting. Not everyone's cup of tea, but I like it.

Keep in mind that most zooms are not very good in the early days. It's obvious that Tamron put quite a bit of effort into designing this lens. A nice wide angle range on full frame.

Oh yeah, it has infrared markings for 24mm and 48mm. I would expect one for 35mm setting too, but no. The amount of IR compensation between 24mm and 48mm is quite large. One reason I don't like using zoom for IR pictures.

Will have an update when I get around to use it on the 5D.

Tuesday, April 27, 2010

Monday, April 26, 2010

Fun with Infrared Photography - Part III


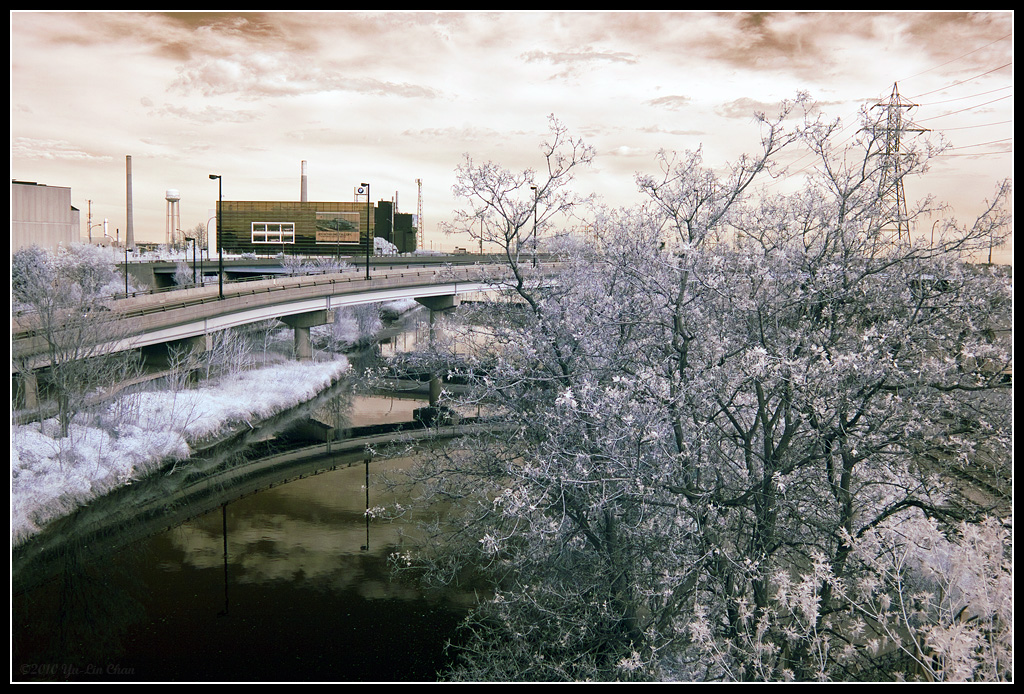
Don River and Gardner Expressway -- IR Converted 20D & Pentax-M 20mm f4 @ f8. Larger Picture.

There are different flavours of infrared, depending on the cut-off frequency of the IR filter. Most common IR filter is the Hoya R72, which has a cut-off frequency of 720 nanometers (nm). Lots of people like this filter because the R72 allows some visible colours to get through the filter, thus gives the "False Colour" you see in some IR pictures.

The higher the cut-off frequency, the less visible light and the image will become more monochromatic. Anything above 800nm will be basically just black and white. Some like the monochromatic look, but I personally prefer false colours in IR. This was what attracted me to IR photography in the first place. Besides, you can always convert the picture to black & white if needed.

Lucky for me, the IR converted 20D I bought has an internal IR filter similar to R72. It allows small amount of colour through, especially the blue and deep red. As with everything in life, having too much of one thing will quickly make your bored. I have shot with the IR 20D for just a few days, and I am already having IR fatigue. IR pictures need high contrast scenes to look interesting, like blue skies and lots of trees and water. An IR picture of a building will not be very exciting, regardless how wonderful the lighting is. IR photography is like a fish-eye lens -- it's fun and interesting when used in moderation. This begs the question, should you convert your camera to a dedicated IR camera?

I would say no to expensive cameras, unless you have an obsession to IR. But if your Rebel 300D, 10D, 20D, etc, is collecting dust and hardly sees the light of day, it maybe a good idea to have it converted to be a dedicated IR camera. Just keep in mind that the conversion itself will cost more than what your camera is worth.

Sun Rising Over Downtown Toronto


Sun Rising - Canon T2i & Tamron Adaptall-2 28mm f2.5 at f8.

Drove wife to work early this morning and on my way home, saw the sun slowly rising over downtown Toronto. It was beautiful.

Saturday, April 24, 2010

Fun with Infrared Photography - Part II

There are many problems that need to be overcome with infrared photography, depending on how one goes about doing it. For people who just use IR filters on unmodified cameras, the biggest issues are exposure time and black viewfinder. For a modified camera, they are focus and metering.

Unless your camera was designed from ground up as an IR camera, the metering and auto focus system are geared to and calibrated for visible light. On an IR modified camera, these two components will no longer work reliably. In most cases, the metering needs to be adjusted by at least 1 stop, but most of the time, 1.5 to 2 stops on anything that do not emit heavy infrared like buildings. For trees or flowers on a sunny day, negative compensation is required, sometimes as much as 2 stops. Thanks to digital, this is not as a big deal as it sounds, as you can always take a picture and adjust exposure as needed. The trickier part is achieving accurate focusing.

If you have a manual focus film SLR with a lens at home collecting dust, you will almost always find an infrared index on the lens. In the case of a zoom lens, there maybe multiple IR marks. Even the cheapest of lenses in the old days would have this index. Now a days, you will be lucky to get a distance scale on the lens, let alone IR mark. Unfortunately, to get accurate focusing, you will need to reference this IR marking on the lens.

The focus point for infrared is always ahead of that of the available light. If focus is achieved at 1 meter, the infrared mark is usually at around 1.1 to 1.2 meters. What this means is that once you see the picture is sharp on the view finder, you will need to turn focusing ring slight farther where the IR mark indicates. The amount of compensation is different for each lens. Some more and some less. This sounds like complicated, but it's not. After you have tried it a few times, you don't need to look at the mark any more, you will now approximately how much compensation you will need. Of course, if you use very large apertures like f1.2 or f1.4, this will be much harder to achieve critical focus.

Today I shot with a Pentax-M 20mm f4 lens on the IR 20D, and I am surprised how many sharp keepers. Partly because the 20mm f4 lens has a very short focus throw, anything farther than 2 meters is considered infinity, so the lens was set at infinity most of the time. The trick I used was focus bracketing. Take a picture at the indicated visible light, than turn the focus slight ahead for another pictures, and still a little further ahead for a third picture. This turned out really well.

Next time, we will talk about different IR filters and their effects on the picture.


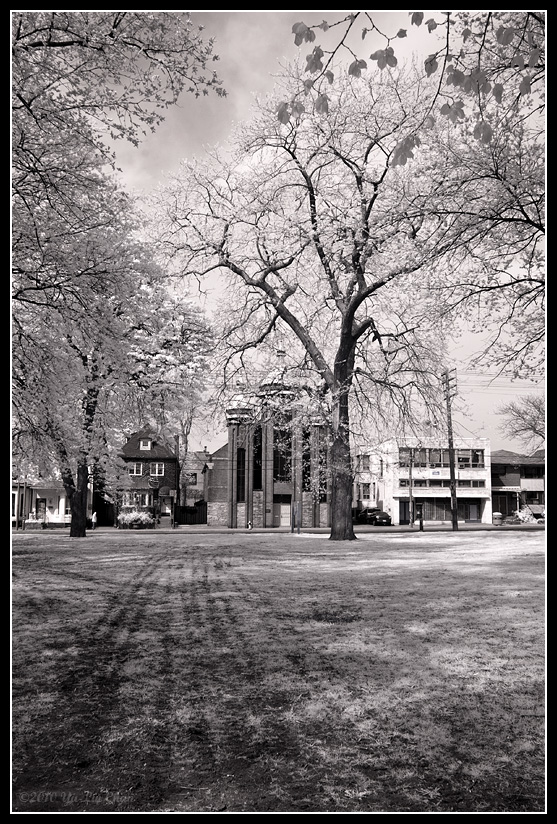
St. Mary's Dormition Ukrainian Catholic Church -- IR 20D & Pentax-M 20mm f4.


Tool Shed in false colours -- IR 20D & Pentax-M 20mm f4. Larger Picture.


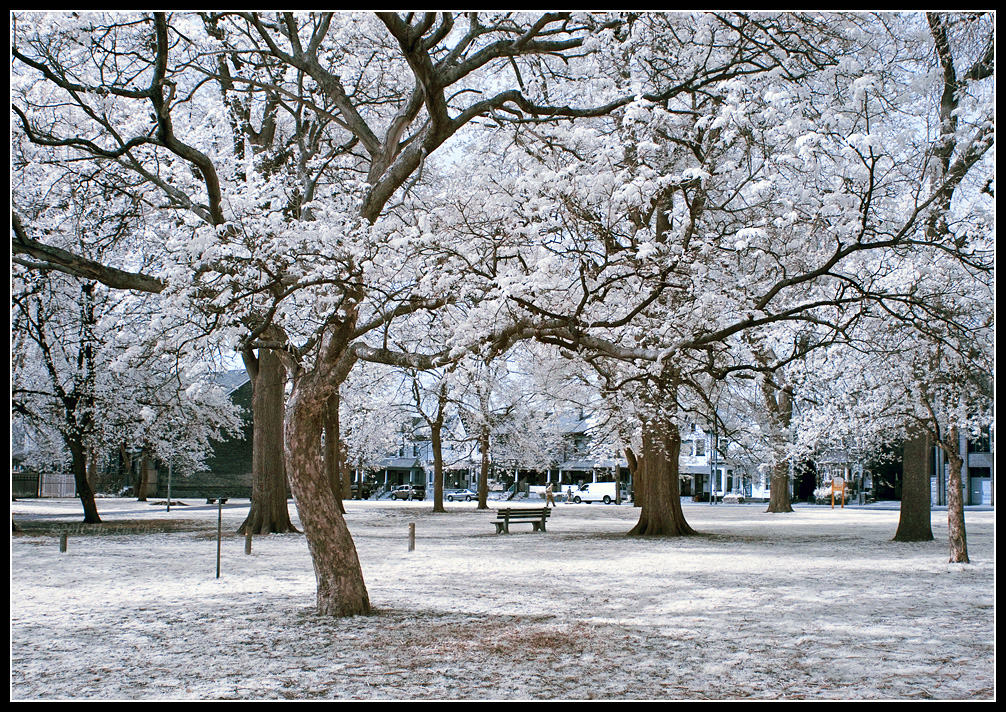
Bench in false colours - IR 20D & Pentax-M 20mm f4. Larger Picture.

Fun with Infrared Photography - Part I

Years ago, when for the first time I saw Daniela's infrared pictures taken with the Minolta Dimage 7, my jaws dropped to the floor, with a loud thud. These surreal, mystique, and fascinating pictures looked so otherworldly. I told myself that I would have to try it. The only problem, was money, or lack thereof. Back then, most infrared pictures were taken with an infrared filter screwed onto the front of a lens. Dedicated infrared cameras were very rare, partly because digital cameras back then were very expensive. Few would risk damaging the camera to convert it to IR.

Over the years, I tried some IR filters, but, most Canon DSLRs are not sensitive to IR, it would take many seconds to minutes to expose for an IR picture. On top of that, you can't see your composition with the filter on, because the filter is opaque. I soon gave up.

Next was the Sigma SD10 that was semi defective that I bought in a camera show. The batteries would only last about 30 shots. Something was wrong with it. But, the SD10 had a removable IR blocking filter. By removing this filter, you would expose the sensor to all spectrum of the light. So, I tried again, with an IR filter, but the image never came out the way I liked it. After that, it was enough for me. The only way I was going to try again is to get a dedicated IR camera that shoots just like a normal camera.

My chance came a few years ago when someone was selling a IR modified Canon 10D. I went for it, but soon discovered that I could not make any sharp pictures with it, regardless of aperture or focus point. The pictures were always soft. I returned it to the seller, who gracefully accepted the return, minus $50. My heart was broken. I have not touched, or even thought about IR until I saw someone was selling an IR modified Canon 20D on Craigslist, and I was lucky enough to be the person who bought it, at a great price.

I took some shots with the kit lens the day I bought it, and it proved to be excellent. A few sharp pictures, but mostly soft.

Next time, we will talk about the pit falls of IR modified cameras, and how you can avoid it.


Cheery Tree in full blossom - Canon IR modified 20D & EF 35mm f1.4. Larger Picture.

Friday, April 23, 2010

Vivitar Series-1 28mm f1.9 OM Mount

s Series-1 lenses were some of the best and most unique in its time. The 28mm f1.9 is one of the cult classics. Very fast for a wide angle at the time the lens was made. This is the second copy of the 28mm f1.9 lens I have. The other one is an MD mount. Both look and work identically. Very sharp lens, especially in the center. I like the warm colour this lens captures. Contrast is a bit low wide open but still sharp. Over all a great lens that deserves the Series-1 moniker. Will update on this lens in a later date.


Let's Play Ball - Canon T2i & Vivitar Series-1 28mm f1.9 OM Mount. Larger Picture.


Torture Flare Test. The VMC coating is very effective -- T2i & Vivitar 28mm f1.9. Larger Picture.


Untiltled - T2i & Vivitar Series-1 28mm f1.9. Larger Picture.


Glass Art - T2i & Vivitar Series-1 28mm f1.9.

Thursday, April 22, 2010

United Metropolitan Church in IR


United Met in Infrared - Canon 20D (IR) & EF-S 18-55mm f3.5-5.6 IS.

Got an IR Modified 20D today (Thanks John!). I have been wanting an IR DSLR for like an eternity. Bought an IR 10D few years before from someone, but turned out it could not focus. Everything was soft regardless where the focus point was (yes I know focus shifts for IR cameras). The 20D I got today is nothing like the 10D. Very happy.