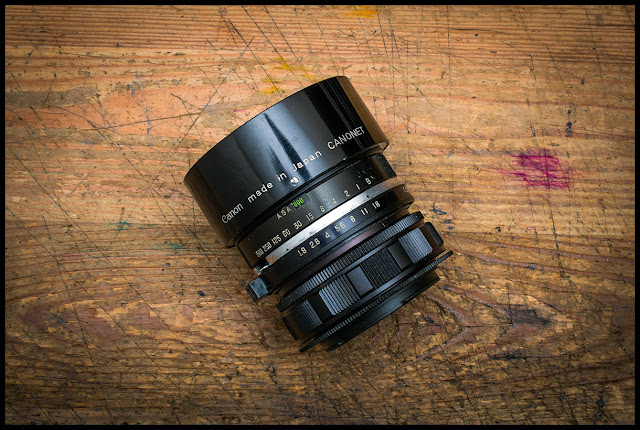
A Beauty, no?
I originally wanted to preserve the built-in focus mechanism, but the lens has some strange designs that prevents this from happening. On most rangefinders, there are two focus guides; one on each side of the lens and are small and very close to the helicoid. On this lens, there is a single focus guide and is placed quite a distance away from the helicoid. If I were to retain the original focusing, I would have to machine the mount much larger than the diameter of the lens to accommodate the focus guide. If I were more skilled, I could probably create my own focus guide, but I am not there yet. In the end, the built-in focus is abandoned, and the Pentax 17-33mm focus helicoid is used. There are many advantages of using a helicoid with 16mm of focus travel, and one of which is extreme close focus while still retaining infinity focus. Another advantage is the focus feel. The Pentax helicoid is smooth as silk and what a pleasure to use.
The skin on the front of the camera need to be removed, which will expose the screws that secure the lens module. The top plate probably does not need to be removed, but I did it anyway.
Once the screws were removed, the lens module can be pulled out easily. Note the focus guide circled in red.
I need to use an M42 mount for the lens, so that it could be screwed on to the Pentax helicoid. This M42 mount came from one of the three sections of a Pentax extension tube. I have to somehow mount this onto the lens. The obvious way to do it is to attach it to the inner helicoid. The only problem is there is less than 3mm of space available between the lens and the focus helicoid. I machined the inner helicoid tube from its original 25mm to about 1mm thick, and the M42 mount to about 3mm, just thin enough to achieve infinity focus. I then epoxied the two parts together. Since the weight of the whole lens is held together by the glue, I am not too comfortable trusting glue to handle this by itself, so I intend to drill/tap and screwed them together for some added assurance.
Remove everything at the rear of the lens, but keep the retention plate. This plate is used to hold the M42 mount to the lens. See next picture for the plate. The screw circled is a key that makes sure the plate does not move around.
On the left is the M42 mount I cut from the Pentax extension tube and machined to the required thickness. In the middle is the retention plate that I machined so that it will fit inside the back of the M42 mount. These two pieces are glued together with metallic epoxy.
The retention plate is glued onto the M42 mount. Note the recessed groove; it's just small enough that the retention ring can't go through the hole. This is where the retention ring on the right will be pressing on while screwed onto the lens. This secures the mount on the lens.
All the pieces fitted together. The notches circled in red is where you use the spanner wrench to tighten the retention ring and secure the mount.
Disabling the shutter
This is actually the trickiest part that took more time. It involves disassembling the front of the lens.
Remove the retention ring with a spanner wrench and remove the diffuser piece. Next unscrew the front element group, and take out 3 pieces under it. Now remove the 3 screws circled in red.
Once the 3 screws are removed, lift this piece out, and the piece below it. This will expose 4 more screws that need to be removed. Note the small retention ring in the middle, pointed to by the blue arrow. This one also needs to come out.
Take out the piece secured by the 4 screws, and now the inner retention can be removed. Note the locking screws in red. It needs to be turned so that it's not touching the retention ring. Using a pointed spanner wrench, remove the retention ring.
Once the retention ring is removed, take it out, as well as the two other pieces under it. This is the end of the disasembly.
This is where you will find the shutter cocking mechanism, circled in red. Find the part that actually engages/disengages the shutter, and glue/solder it in place. For this particular lens, I just removed the shutter blades using a long nose plier since I didn't feel like I wanted to go through all the disassembly steps, but I did the steps here to show where you can do it without removing the blades.
Everything together. Looks nice with the Canonet hood :)
A real beauty, ain't she?
Next time, we will look at some pictures taken with this lens, and see if Beauty is only skin deep, or it actually has substance.


Definitely a bewdy, the lens arrangement is going to give some stealth / confusion to your A7 :-)
ReplyDelete