Unless your camera was designed from ground up as an IR camera, the metering and auto focus system are geared to and calibrated for visible light. On an IR modified camera, these two components will no longer work reliably. In most cases, the metering needs to be adjusted by at least 1 stop, but most of the time, 1.5 to 2 stops on anything that do not emit heavy infrared like buildings. For trees or flowers on a sunny day, negative compensation is required, sometimes as much as 2 stops. Thanks to digital, this is not as a big deal as it sounds, as you can always take a picture and adjust exposure as needed. The trickier part is achieving accurate focusing.
If you have a manual focus film SLR with a lens at home collecting dust, you will almost always find an infrared index on the lens. In the case of a zoom lens, there maybe multiple IR marks. Even the cheapest of lenses in the old days would have this index. Now a days, you will be lucky to get a distance scale on the lens, let alone IR mark. Unfortunately, to get accurate focusing, you will need to reference this IR marking on the lens.
The focus point for infrared is always ahead of that of the available light. If focus is achieved at 1 meter, the infrared mark is usually at around 1.1 to 1.2 meters. What this means is that once you see the picture is sharp on the view finder, you will need to turn focusing ring slight farther where the IR mark indicates. The amount of compensation is different for each lens. Some more and some less. This sounds like complicated, but it's not. After you have tried it a few times, you don't need to look at the mark any more, you will now approximately how much compensation you will need. Of course, if you use very large apertures like f1.2 or f1.4, this will be much harder to achieve critical focus.
Today I shot with a Pentax-M 20mm f4 lens on the IR 20D, and I am surprised how many sharp keepers. Partly because the 20mm f4 lens has a very short focus throw, anything farther than 2 meters is considered infinity, so the lens was set at infinity most of the time. The trick I used was focus bracketing. Take a picture at the indicated visible light, than turn the focus slight ahead for another pictures, and still a little further ahead for a third picture. This turned out really well.
Next time, we will talk about different IR filters and their effects on the picture.
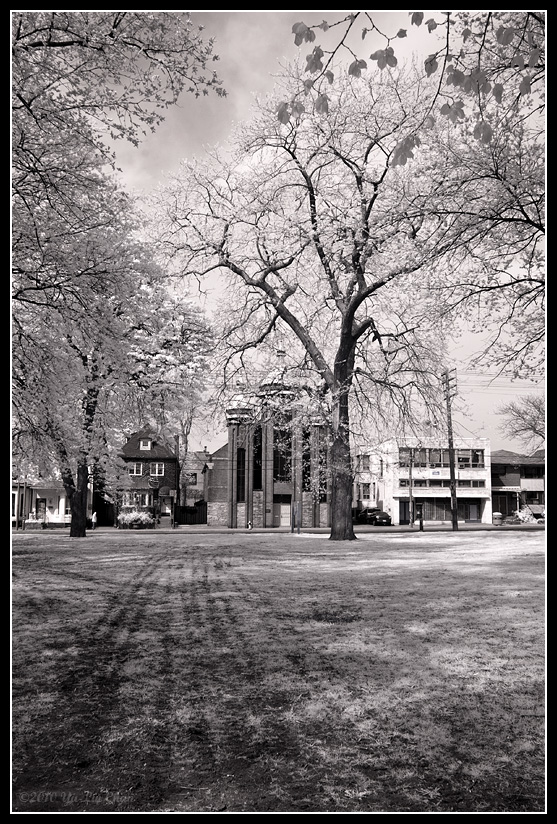
St. Mary's Dormition Ukrainian Catholic Church -- IR 20D & Pentax-M 20mm f4.

Tool Shed in false colours -- IR 20D & Pentax-M 20mm f4. Larger Picture.
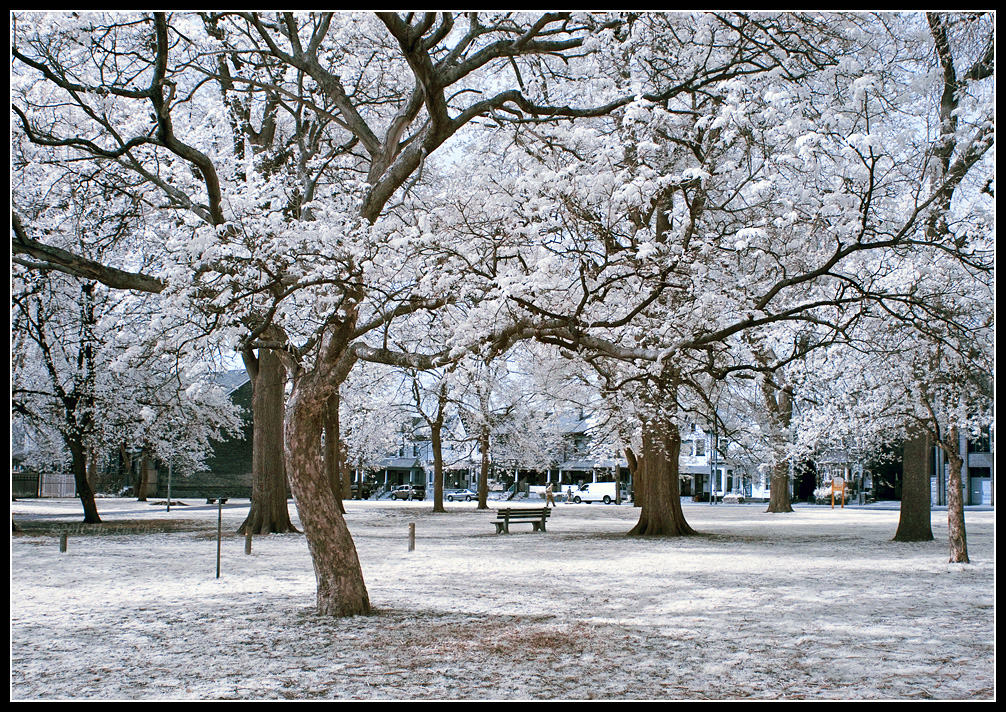
Bench in false colours - IR 20D & Pentax-M 20mm f4. Larger Picture.
No comments:
Post a Comment